
Our Story
A commitment to exceptional quality since 1887
From the pure-flavoring extracts first introduced by Conrad Frederick Sauer in the 19th century at CF Sauer Products to the branded and private label spices, mixes, sauces and more that define our brand today, Sauer Brands, Inc. continues to innovate and grow. We source globally and then conceive and produce our quality products right here in the USA.
About Us
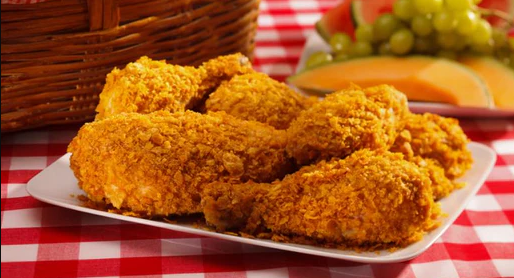
Traditional SPICES
Our rock-solid line of spices.
All the standard spices you want and need. All the taste and value you expect from us.
Browse Product Line